Hey there, tech enthusiasts! Are you ready to dive into the world of remote connections? In today's digital era, connecting to RPi via VNC securely has become a must-know skill for anyone working with Raspberry Pi. Whether you're a seasoned pro or just starting out, this guide will walk you through the ins and outs of setting up a secure VNC connection to your Raspberry Pi. So, buckle up and let's get started!
Remote access to your Raspberry Pi opens up a world of possibilities. Imagine being able to control your Pi from anywhere in the world, without needing to physically sit in front of it. Sounds awesome, right? But here's the catch – security is key. You don't want unauthorized access messing with your setup. That's why we're going to focus on doing it right, the secure way.
This article isn't just another tech jargon-filled piece; it's a practical, step-by-step guide that will help you connect to your RPi via VNC securely. We'll cover everything from setting up VNC on your Pi to ensuring your connection is as safe as Fort Knox. So, whether you're a hobbyist or a professional, this guide has got you covered.
Read also:Prmovies Your Ultimate Destination For Streaming Movies Online
Why Secure VNC Connections Matter
In today's interconnected world, security can't be overlooked. When you're connecting to RPi via VNC securely, you're not just ensuring your data stays safe; you're also protecting your device from potential hackers. VNC, or Virtual Network Computing, allows you to control one computer from another, but it needs to be set up correctly to avoid vulnerabilities.
Here's why secure VNC connections are crucial:
- Data Protection: Your Raspberry Pi might store sensitive information, and a secure VNC setup ensures that data remains private.
- Device Safety: Unauthorized access can lead to your Pi being compromised, which could result in bigger security issues.
- Peace of Mind: Knowing your setup is secure lets you focus on the fun part – building and experimenting with your projects.
Setting Up VNC on Your Raspberry Pi
Alright, let's get our hands dirty. The first step in connecting to RPi via VNC securely is setting up VNC on your Raspberry Pi. Here's how you do it:
Step 1: Enable VNC on Raspberry Pi
Head over to the Raspberry Pi Configuration tool. You can find this by navigating to:
- Menu > Preferences > Raspberry Pi Configuration
Once you're there, go to the Interfaces tab and enable VNC. Simple as that!
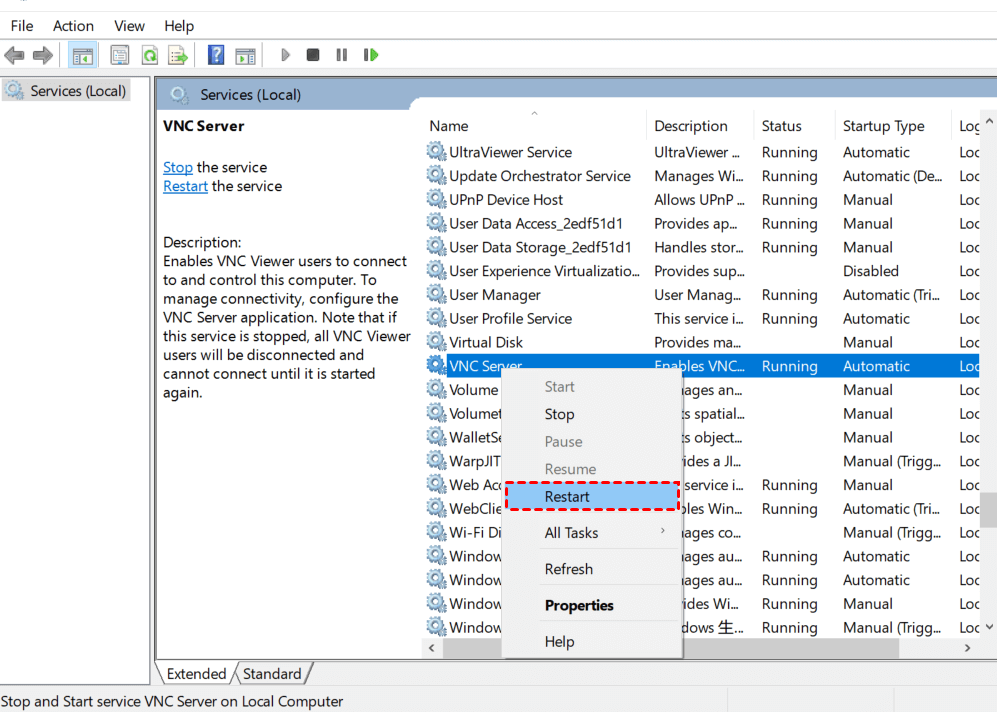
Step 2: Install VNC Server
Make sure your Pi has the VNC server installed. You can do this by running the following command in the terminal:
Read also:Zoe Jane Lewis Rising Star In The Spotlight
sudo apt-get install realvnc-vnc-server realvnc-vnc-viewer
And just like that, you're ready to roll with the VNC server on your Pi.
Securing Your VNC Connection
Now that you've got VNC up and running, it's time to make sure it's secure. Here's how you can beef up the security of your connecting to RPi via VNC securely setup:
Tip 1: Use Strong Passwords
It might sound basic, but using strong passwords is one of the most effective ways to secure your VNC connection. Avoid using simple passwords like "1234" or "password." Instead, go for something complex, like a mix of uppercase and lowercase letters, numbers, and symbols.
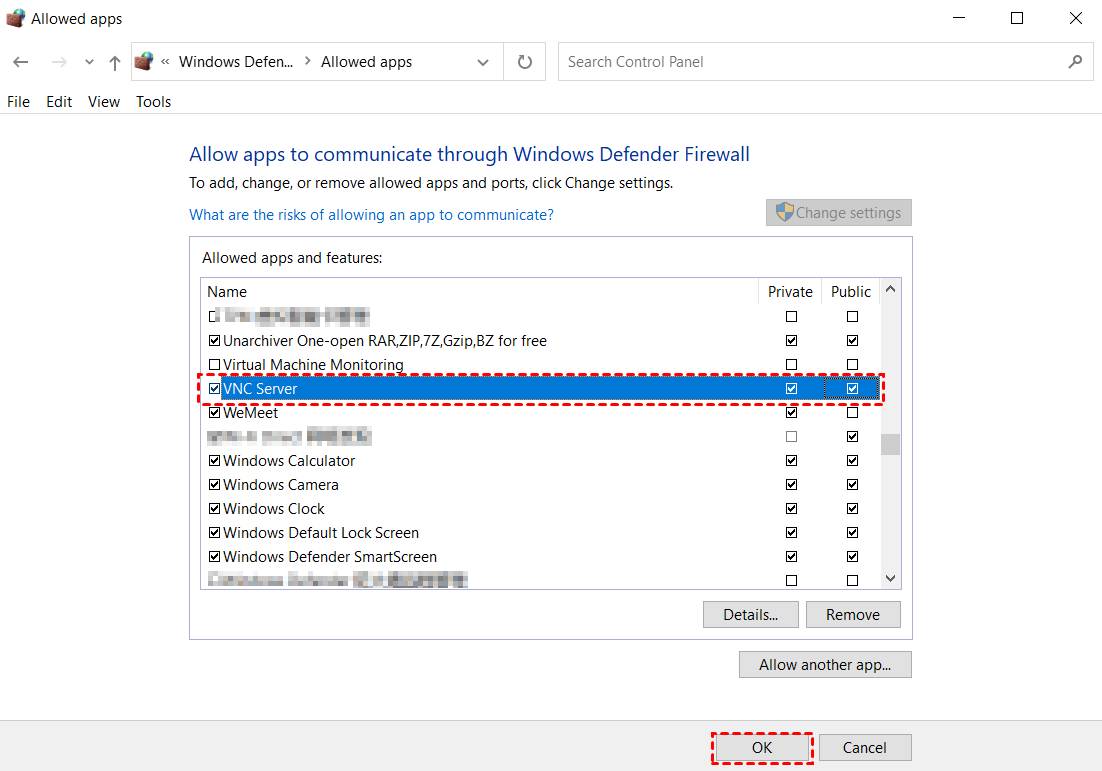
Tip 2: Enable Firewall
Setting up a firewall adds an extra layer of protection. You can use the UFW (Uncomplicated Firewall) to allow only specific ports, like the VNC port, to be accessible from the outside world.
Run these commands to set up UFW:
sudo apt-get install ufw
sudo ufw allow 5900
sudo ufw enable
Connecting to Your Raspberry Pi via VNC
With everything set up, it's time to connect to your Raspberry Pi. Here's how you can do it:
Step 1: Install VNC Viewer on Your Device
Download and install the VNC Viewer app on the device you want to use to connect to your Pi. It's available for Windows, macOS, Linux, iOS, and Android.
Step 2: Enter Your Pi's IP Address
Once the VNC Viewer is installed, open it and enter your Raspberry Pi's IP address. You can find the IP address by running the following command on your Pi:
hostname -I
Step 3: Enter Your Credentials
When prompted, enter the username and password you set up for your Pi. If everything is configured correctly, you should now have a secure VNC connection to your Raspberry Pi.
Advanced Security Measures
For those who want to take their security to the next level, here are some advanced tips for connecting to RPi via VNC securely:
Use SSH Tunneling
SSH tunneling encrypts your VNC connection, making it even more secure. Here's how you can set it up:
- Open a terminal on your local machine.
- Run the following command:
ssh -L 5900:localhost:5900 pi@your_pi_ip
This will create a secure tunnel between your local machine and your Pi.
Limit Access with IP Whitelisting
Restrict access to your Pi by allowing only specific IP addresses to connect. This can be done by configuring your router or using tools like iptables on your Pi.
Common Issues and Troubleshooting
Even with the best-laid plans, things can go wrong. Here are some common issues you might face when connecting to RPi via VNC securely and how to fix them:
Issue 1: Connection Refused
If you're getting a "connection refused" error, make sure VNC is enabled on your Pi and that the necessary ports are open in your firewall settings.
Issue 2: Slow Connection
A slow VNC connection can be frustrating. Try tweaking the VNC settings on your Pi to optimize performance. Reducing the color depth and resolution can help speed things up.
Benefits of Using VNC for Raspberry Pi
Using VNC to connect to your Raspberry Pi comes with a host of benefits:
- Remote Access: Control your Pi from anywhere in the world.
- Flexibility: Work on your projects without being tied to a physical location.
- Efficiency: Streamline your workflow by accessing multiple devices from one location.
Conclusion and Next Steps
There you have it – a comprehensive guide to connecting to RPi via VNC securely. By following the steps outlined in this article, you can ensure that your Raspberry Pi setup is not only functional but also secure. Remember, security should always be a top priority when working with remote connections.
Now that you've learned the ropes, here's what you can do next:
- Experiment with different VNC settings to find what works best for you.
- Explore advanced security measures to further protect your setup.
- Share your newfound knowledge with fellow tech enthusiasts.
Thanks for reading, and happy tinkering! If you found this guide helpful, don't forget to leave a comment or share it with your friends. Until next time, stay safe and keep building!
Table of Contents
- Why Secure VNC Connections Matter
- Setting Up VNC on Your Raspberry Pi
- Securing Your VNC Connection
- Connecting to Your Raspberry Pi via VNC
- Advanced Security Measures
- Common Issues and Troubleshooting
- Benefits of Using VNC for Raspberry Pi
- Conclusion and Next Steps