Ever wondered how to securely connect your IoT devices behind a firewall using a Mac server? If you're reading this, chances are you're either a tech enthusiast or someone who's been scratching their head over this exact problem. Well, you're in luck because we're diving deep into the world of IoT, firewalls, and Mac servers. Stick around, because this is going to be an eye-opener!
Let's face it, IoT devices are everywhere. From smart thermostats to security cameras, they've become an integral part of our daily lives. But what happens when you need to access these devices remotely while keeping them safe behind a firewall? Enter the Mac server—a powerful tool that can help you achieve just that.
In this article, we'll break down everything you need to know about using a Mac server to manage IoT devices securely. Whether you're a beginner or a seasoned pro, there's something here for everyone. So grab a cup of coffee, sit back, and let's get started.
Read also:Why Movies4u Bollywood Is The Ultimate Destination For Bollywood Enthusiasts
What Exactly is IoT and Why Should You Care?
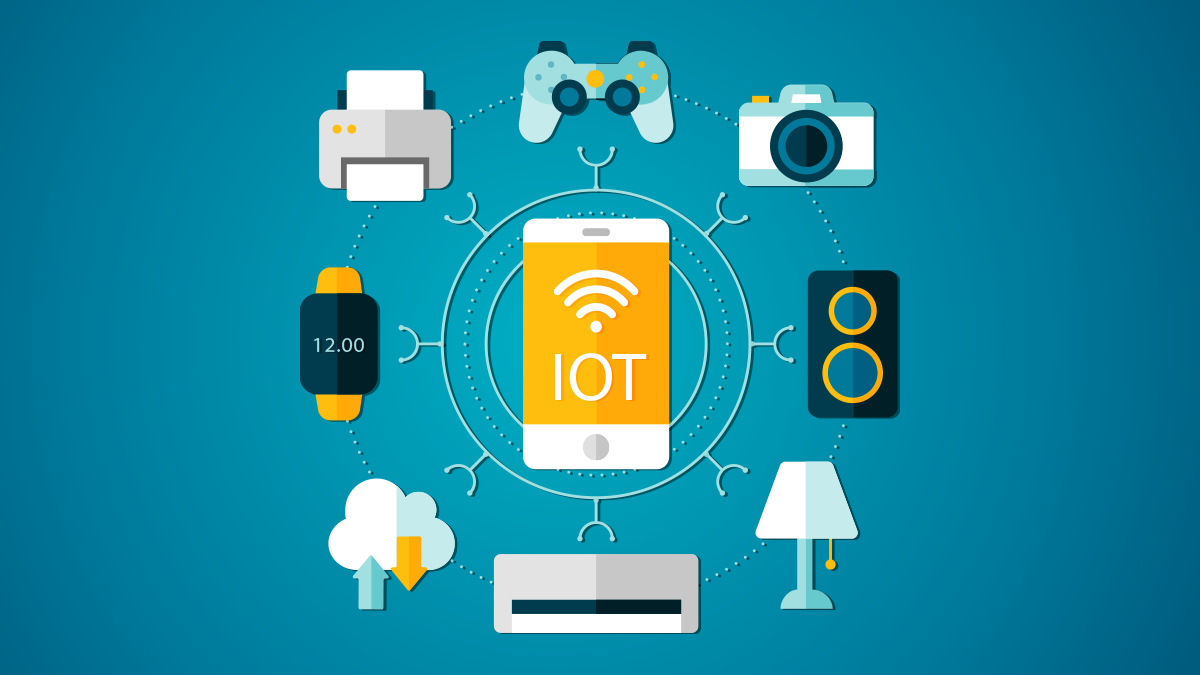
IoT, or the Internet of Things, refers to the network of physical devices embedded with sensors, software, and connectivity that allows them to exchange data. In simpler terms, it's the tech that makes your fridge send you a text when you're out of milk or your smart doorbell let you know when the pizza guy's at your door.
But here's the thing: while IoT devices offer convenience, they also come with security risks. That's where firewalls come in. A firewall acts as a barrier between your devices and the outside world, protecting them from unauthorized access. However, this protection can sometimes make it tricky to access your devices remotely. And that's where a Mac server can save the day.
Understanding Firewalls and Their Role in IoT Security
A firewall is like a bouncer at a club—it decides who gets in and who doesn't. In the context of IoT, firewalls help prevent unauthorized access to your devices, keeping them safe from hackers and other cyber threats.
However, firewalls can also block legitimate access attempts, especially when you're trying to connect to your IoT devices from outside your network. This is where things get tricky, but don't worry—there are solutions, and a Mac server is one of them.
Types of Firewalls
- Network Firewalls: These protect your entire network by filtering incoming and outgoing traffic.
- Application Firewalls: These focus on specific applications and services, offering more granular control over access.
- Host-Based Firewalls: These are installed on individual devices, providing an additional layer of security.
Why Choose a Mac Server for IoT Management?
Mac servers are powerful machines that can handle a variety of tasks, from file sharing to network management. When it comes to IoT, they offer several advantages:
- Security: Mac servers come with built-in security features that make them ideal for managing IoT devices.
- Compatibility: macOS is compatible with a wide range of IoT devices, making it easy to set up and manage them.
- Scalability: Whether you're managing a few devices or an entire network, a Mac server can grow with your needs.
Plus, Mac servers are known for their ease of use and reliability, making them a great choice for both beginners and experts.
Read also:Lara Trump Weight Everything You Need To Know About Her Journey
Setting Up a Mac Server for IoT
Setting up a Mac server for IoT management might sound intimidating, but it's actually pretty straightforward. Here's a step-by-step guide to help you get started:
Step 1: Install macOS Server
First things first, you'll need to install macOS Server on your Mac. This software turns your Mac into a full-fledged server, capable of handling a variety of tasks. You can download it from the Mac App Store.
Step 2: Configure Network Settings
Once macOS Server is installed, you'll need to configure your network settings. This includes setting up static IP addresses for your IoT devices and configuring your router to allow incoming connections.
Step 3: Set Up Port Forwarding
Port forwarding is a technique that allows you to direct incoming traffic to specific devices on your network. This is essential for accessing your IoT devices remotely. To set it up, you'll need to log into your router and configure the necessary settings.
Step 4: Secure Your Server
Security should always be a top priority. Make sure to enable encryption, set up strong passwords, and regularly update your server to protect it from potential threats.
Connecting IoT Devices to Your Mac Server
Now that your server is set up, it's time to connect your IoT devices. Here's how:
Step 1: Add Devices to Your Network
Start by adding your IoT devices to your local network. This usually involves connecting them to your Wi-Fi or Ethernet.
Step 2: Configure Device Settings
Each IoT device will have its own settings that need to be configured. This might include setting up user accounts, enabling remote access, and configuring security settings.
Step 3: Test the Connection
Once your devices are connected, test the connection to ensure everything is working as expected. You can do this by accessing your devices from another device on your network.
Managing IoT Devices Remotely
With your devices connected to your Mac server, you can now manage them remotely. Here's how:
- Use a secure connection, such as SSH or SSL, to access your server from anywhere in the world.
- Install a remote management tool, such as Apple Remote Desktop, to control your devices from your Mac.
- Set up automation scripts to streamline tasks and improve efficiency.
Remote management not only saves time but also improves security by allowing you to monitor and control your devices from a central location.
Best Practices for IoT Security
While a Mac server can significantly enhance the security of your IoT devices, there are still some best practices you should follow:
- Regularly update your devices and server to protect against vulnerabilities.
- Use strong, unique passwords for all your devices and accounts.
- Enable two-factor authentication wherever possible.
- Monitor your network for suspicious activity and take action if necessary.
By following these practices, you can ensure that your IoT devices remain secure and protected.
Troubleshooting Common Issues
Even with the best setup, issues can arise. Here are some common problems and how to fix them:
Problem: Unable to Access Devices Remotely
Solution: Check your firewall settings and ensure that port forwarding is correctly configured. Also, verify that your devices are connected to the network and that your server is accessible from outside your network.
Problem: Slow Connection Speeds
Solution: Optimize your network settings and consider upgrading your hardware if necessary. Also, ensure that your devices are not being overloaded with too many tasks.
Conclusion
Using a Mac server to manage IoT devices behind a firewall is a powerful way to enhance both security and convenience. By following the steps outlined in this guide, you can set up a secure and efficient system that meets your needs.
So what are you waiting for? Dive in and start exploring the possibilities. And don't forget to leave a comment below if you have any questions or feedback. Happy tinkering!
References
For further reading, check out these resources:
Table of Contents
- What Exactly is IoT and Why Should You Care?
- Understanding Firewalls and Their Role in IoT Security
- Why Choose a Mac Server for IoT Management?
- Setting Up a Mac Server for IoT
- Connecting IoT Devices to Your Mac Server
- Managing IoT Devices Remotely
- Best Practices for IoT Security
- Troubleshooting Common Issues
- Conclusion
- References